As you would expect from anything thats mine, nothing is 'normal' and all my mini doors are an odd shape &/or size! so I've had no choice but to make my own. I had been collecting coffee stirrers believing they would do the trick but they were just the wrong scale, so following much inspiration from Nina (
the tudor dollshouse project), Michelle (
Michelles Mad World), and Janice (
on being a mini mum) & their wonderful blogs offering advice, I took the plunge, ordered some 1/4" x 1/2" balsa and set to work :o)
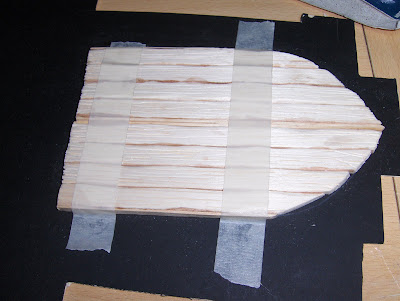
Firstly, I drew around the door hole to get a guide, and then started cutting the balsa to size, using a razor saw as recommended by Janice.
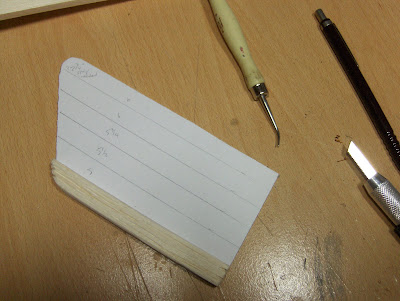
I had no idea what a 'razor saw' actually was but was given an assortment of blades a few xmas's ago so made full use of it, experimented with all the ones with teeth, and found the perfect tool to cut with! I then scored the balsa with my modelling tool to get some deep weather grains into the 'wood' as I don't want them looking all new.
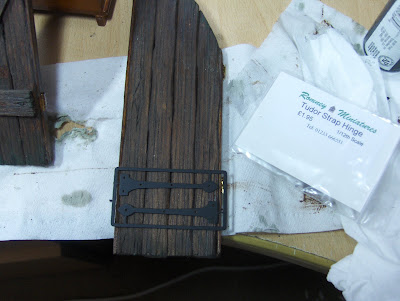
When all the pieces were cut to fit the pattern, I used Michelles tip of adding some brown paint to the PVA to colour it, as an added ageing thing; and glued all the pieces together. I had to add a coffee stirrer to each side as it wasnt quite wide enough to fit the door hole but its provided a 'frame' for the door so it worked out ok for me. The balsa didnt stick too easily so I taped it tight with lowtack tape and left it for a few hours for the PVA to dry.
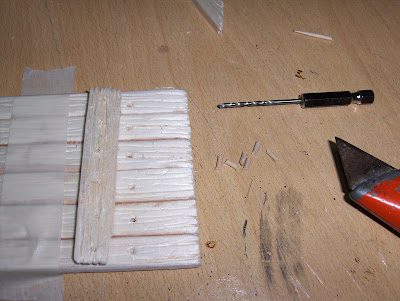
I wanted my doors to look like they had iron studs on the door braces so made pilot holes using my 2mm drill bit and cut small bits of cocktail stick to dowel them together (I also glued them at the back just to be sure!) this sounded much less time consuming than cutting down real nails like Nina did!!!
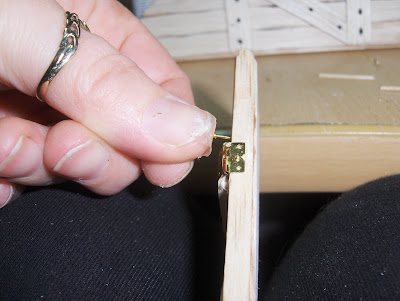
Hinges.... here I nearly lost my sanity completely!!! the TINY screw/rivetty things they supply with hinges I swear are meant to drive you crazy trying to insert into the holes! LOL the balsa was simple to get them in but getting them into a coffee stirrer type strength of wood..... NO!
So, my 'Tip of the Day' is the same as yesterday's.... double sided tape again! worn over the finger tip worked a treat at keeping them where I wanted them ... which wasnt on the floor :o)
next, the brace studs got painted with black acrylic
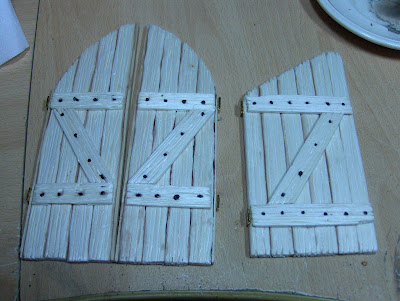
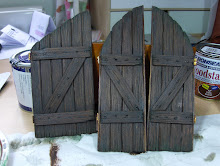
After staining with a coat of satin walnut woodstain, I added a wash of grey acrylic and then dry brushed a bit of sap green on the edges of the doors to make it look a little mossy/mouldy like I imagine old doors to look.
Here are the finished doors for the front & upstairs back door.

adding mock strap hinges ... and a little moss to hide where the superglue leaked! and painting a little black acrylic over the TINY brass 'rivets' that I have learnt to despise more than I thought possible!

The finished door in place ... at last! & the upstairs of The Skool of Majick is now a little safer from the invasion of the dust monster.


I cannot do anymore to finish them properly yet, as I cant find my door knobs. I really, really want to finish it all :o( but I seem to have mislaid the smaller hinges that I bought as well and as you can see, the ones I have used on the other doors are just too big!!! (typical of me to now be officially un-hinged LOL) methinks I have put them in the same 'safe place' and lost them! if I cant find them, I may have to get the clay out and attempt to make some. I have the most amazing dragon door knocker to put on the front door too and cant wait to show it off :o)
right ... off to have another rummage for my sanity.
P.S. I also have to think up what to do with a bagful of spare wooden coffee stirrers!!! LOL
 to this.... :o)
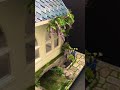
 The bricks were made from paperclay & painted with acrylics, then the rest was plastered in ready made quick drying filler, sanded and then a weak dirty wash applied all over.
 to this.... :o)
 The bricks were made from paperclay & painted with acrylics, then the rest was plastered in ready made quick drying filler, sanded and then a weak dirty wash applied all over.
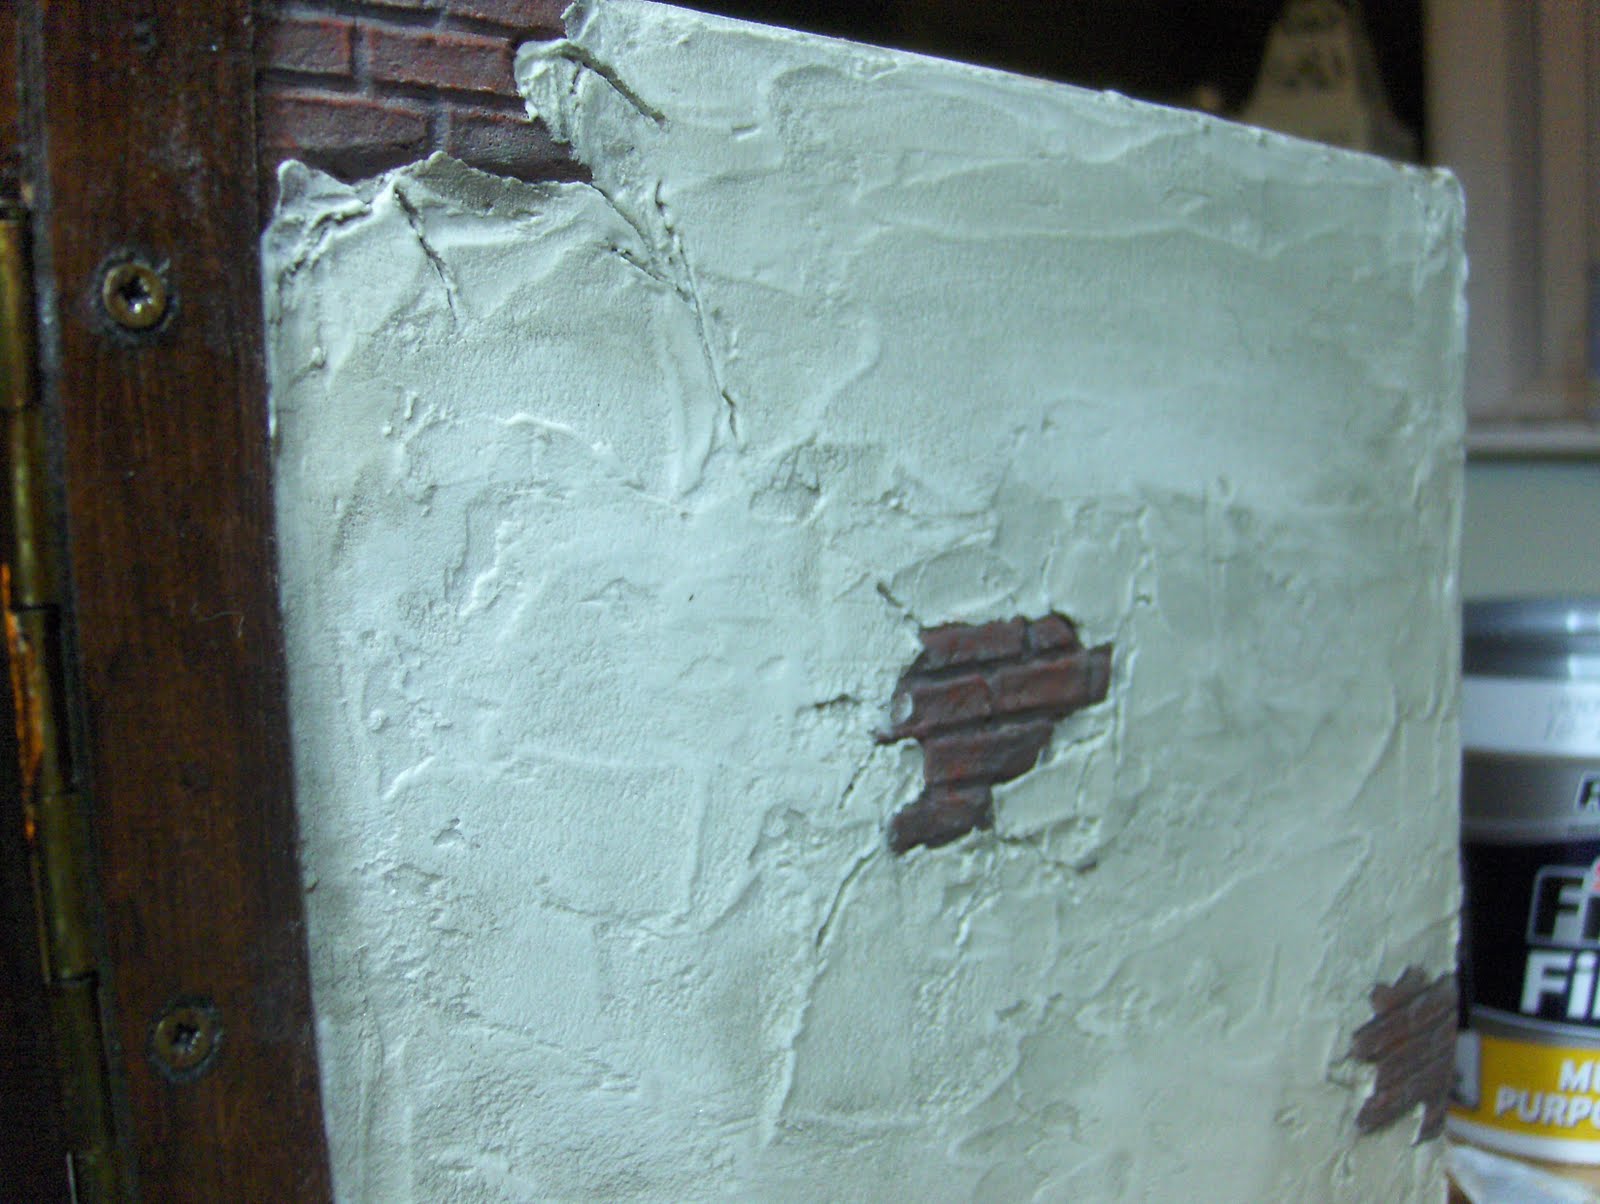
 I dont like the door it came with as it's just mdf so will make one of my balsa specials for it next... maybe tomorrow? and I want to try out Glenda's idea for a leaded window too, you can see her fantastic tutorial here.